Are you ready to breathe new life into your living space? Whether you’re looking to revamp a tired room or add a touch of personality to your home, DIY flooring projects offer an excellent opportunity to transform your space with hands-on renovation. From hardwood to laminate, vinyl to tile, there’s a flooring solution for every taste and budget. So, roll up your sleeves, gather your tools, and let’s dive into the world of DIY flooring bliss!
1. Planning Your Project
Before you start ripping out your old flooring, take some time to plan your project. Consider factors such as your budget, the size and layout of the room, and the type of flooring material that best suits your needs. Research different flooring options and gather inspiration from home improvement magazines, websites, and social media platforms like Pinterest. Once you have a clear vision in mind, create a detailed plan that outlines the materials you’ll need, the steps involved, and any potential challenges you might encounter along the way.
2. Preparing the Space
Preparation is key to a successful DIY flooring project. Start by removing any furniture, appliances, and existing flooring from the room. Thoroughly clean the subfloor to remove dirt, dust, and debris, and make any necessary repairs to ensure a smooth and level surface. If you’re installing laminate or hardwood flooring, consider laying down a moisture barrier to protect against water damage. Take accurate measurements of the room and calculate the amount of flooring material you’ll need, allowing for extra to account for cuts and mistakes.
3. Choosing the Right Flooring
With so many flooring options available, choosing the right one for your project can be overwhelming. Consider factors such as durability, maintenance, and style when selecting your flooring material. Hardwood flooring adds warmth and elegance to any space but can be more expensive and require regular maintenance. Laminate and vinyl flooring offer a cost-effective alternative that’s easy to install and maintain, while tile flooring is durable and water-resistant, making it ideal for kitchens and bathrooms. Take your time to explore different options and choose the flooring that best fits your needs and aesthetic preferences.
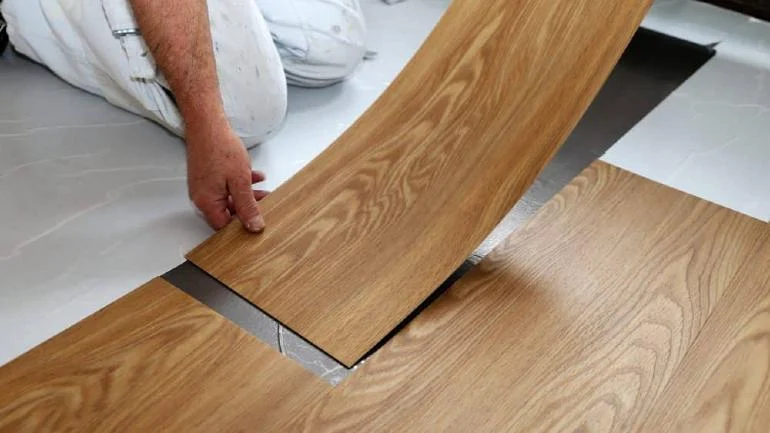
4. Installation Techniques
Once you’ve selected your flooring material, it’s time to roll up your sleeves and get to work! Follow the manufacturer’s instructions carefully and use the appropriate tools and techniques for your chosen flooring material. Whether you’re laying down hardwood planks, clicking together laminate boards, or grouting tile squares, precision is key to achieving professional-looking results. Take your time, work methodically, and don’t hesitate to ask for help if you need it. With patience and perseverance, you’ll soon be enjoying the fruits of your labor.
5. Finishing Touches
With the flooring installed, it’s time to add the finishing touches that will bring your space to life. Reinstall any baseboards, trim, or molding that you removed during the installation process, and fill any gaps or cracks with caulking or wood filler. Give your new floors a thorough cleaning to remove any dirt or debris, and add rugs or mats to protect high-traffic areas and add a pop of color or texture to your room. Step back and admire your handiwork – you’ve just transformed your space with a DIY flooring project that’s sure to impress!
In conclusion, DIY flooring projects offer a fantastic opportunity to transform your space with hands-on renovation. With careful planning, preparation, and execution, you can achieve professional-looking results without breaking the bank. So, grab your tools, unleash your creativity, and get ready to enjoy the beauty and comfort of your newly renovated space!


